How I Set Up Visual Studio Code Remote with Multipass on macOS
Tutorial on creating a WSL-like development environment on macOS using Multipass virtual machines with Visual Studio Code Remote Development extension for Linux development.
Visual Studio Code Remote Development Extension is an excellent idea with easy-to-use user experience. You can easily configure if your target machine is an SSH enabled Linux machine, either physical or virtual, in the cloud or on premise.
It works pretty good on Windows 10, as WSL delivers solid Linux experience.
With that in mind, it is natural that you want something similar on macOS, but installing VirtualBox/Parallel can be painful. Well, painful till the Ubuntu guys invented Multipass.
I tried it out today, and really enjoy the simple experience to get things done in just a few minutes.
Set Up Multipass
I always use homebrew, so it takes only a command to install Multipass,
1
brew cask install multipass
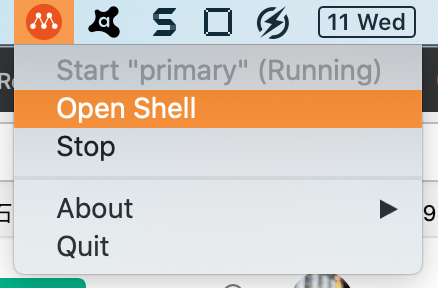
Once installed, it gives me a default Ubuntu machine instance that I can shell in from the menu bar,
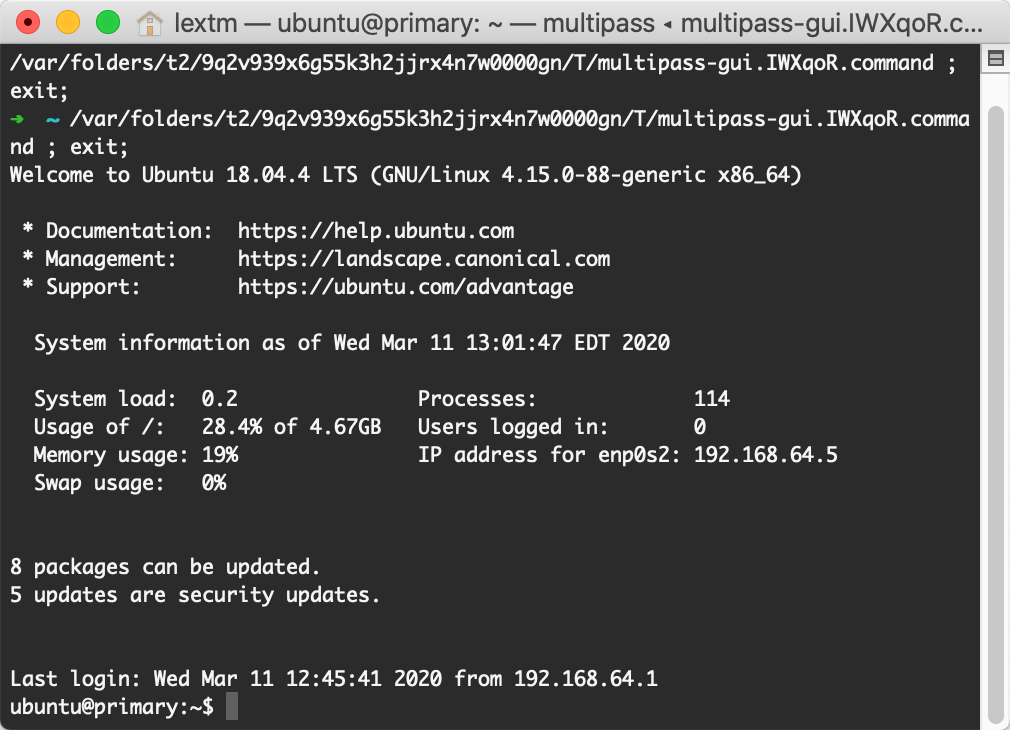
and the shell looks like this,
 Figure 2: Multipass shell to an instance.
Set Up Visual Studio Code Remote on macOS
All steps below are performed on macOS.
If you don’t have much Linux/macOS experience, then you definitely find it hard here. So we summarize what Multipass has created for us so far,
- An Ubuntu virtual machine running on 192.168.64.5.
- A default user named ubuntu.
- (This is hidden from you) A private key to log in at
/var/root/Library/Application\ Support/multipassd/ssh-keys/id_rsa.
Therefore, to make it easy to configure in VS Code on macOS, I simply copy that private key to my own macOS account,
1
sudo cp /var/root/Library/Application\ Support/multipassd/ssh-keys/id_rsa ~/.ssh/
Make sure you don’t have ~/.ssh/id_rsa.pub there, because that can lead to conflicts.
Launch a terminal to test out the connection,
1
ssh [email protected]
If succeeded, then time to move on to VS Code (with Remote Development Extension installed).
- Choose
View | Command Palettes …menu item. - Choose
Remote-SSH: Connect to Host…from the palette. - Choose
+ Add New SSH Host…from the drop down list. - Enter
ssh [email protected]. - Select
/Users/lextm/.ssh/configas lextm is my macOS account.
VS Code informs that the host is added,
You can click Connect now to open SSH connection, or click Open Config if you want to change the host setting (such as its name).
At this moment, your adventure on VS Code/Multipass can start.


