PowerShell with Oh My Posh as Default Shell on macOS
Complete guide to installing and configuring PowerShell with Oh My Posh on macOS, including iTerm2 setup, Nerd Fonts, and Visual Studio Code integration
While I am using more and more macOS and PowerShell, the need of enriching the look-and-feel starts to reveal. So in this post, I will show you how to properly configure PowerShell with Oh My Posh as your default shell on macOS.
Install PowerShell
I won’t waste too much time here, as Microsoft already has an excellent article with popular options. Personally I used Homebrew,
1
brew install --cask powershell
Now at terminal check where PowerShell is installed to,
1
whereis pwsh
On my machine, the output is /usr/local/bin/pwsh. We will use this value later.
Enable Homebrew in PowerShell
Make sure you have ~/.config/powershell/profile.ps1 created, and it contains a line similar to,
1
$(/opt/homebrew/bin/brew shellenv) | Invoke-Expression
Your machine might require a path other than
/opt/homebrew/bin/brew. Learn the right path to use from the output ofbrew install --cask powershell.
Install iTerm2
Oh My Posh requires a modern terminal (that supports Nerd Fonts), so we need to install iTerm2 now,
1
brew install --cask iterm2
Install Nerd Fonts
Oh My Posh themes usually require Nerd Fonts to render its effects, so here we install Meslo Nerd Font
1
brew tap homebrew/cask-fonts && brew install --cask font-meslo-lg-nerd-font
In case you prefer another font, search its installation command from here,
Add PowerShell Profile in iTerm2
Now we can open iTerm2 and its Preferences.
Under Profiles, create a new Profile called PowerShell.
For this profile, set its Command as /usr/local/bin/pwsh -l -nol.
-nolsuppresses the copyright banner.
-lloads the login profiles (including environment variables). Without this many commands might not be found (such ascodefor VS Code).More on pwsh arguments can be found in this article.
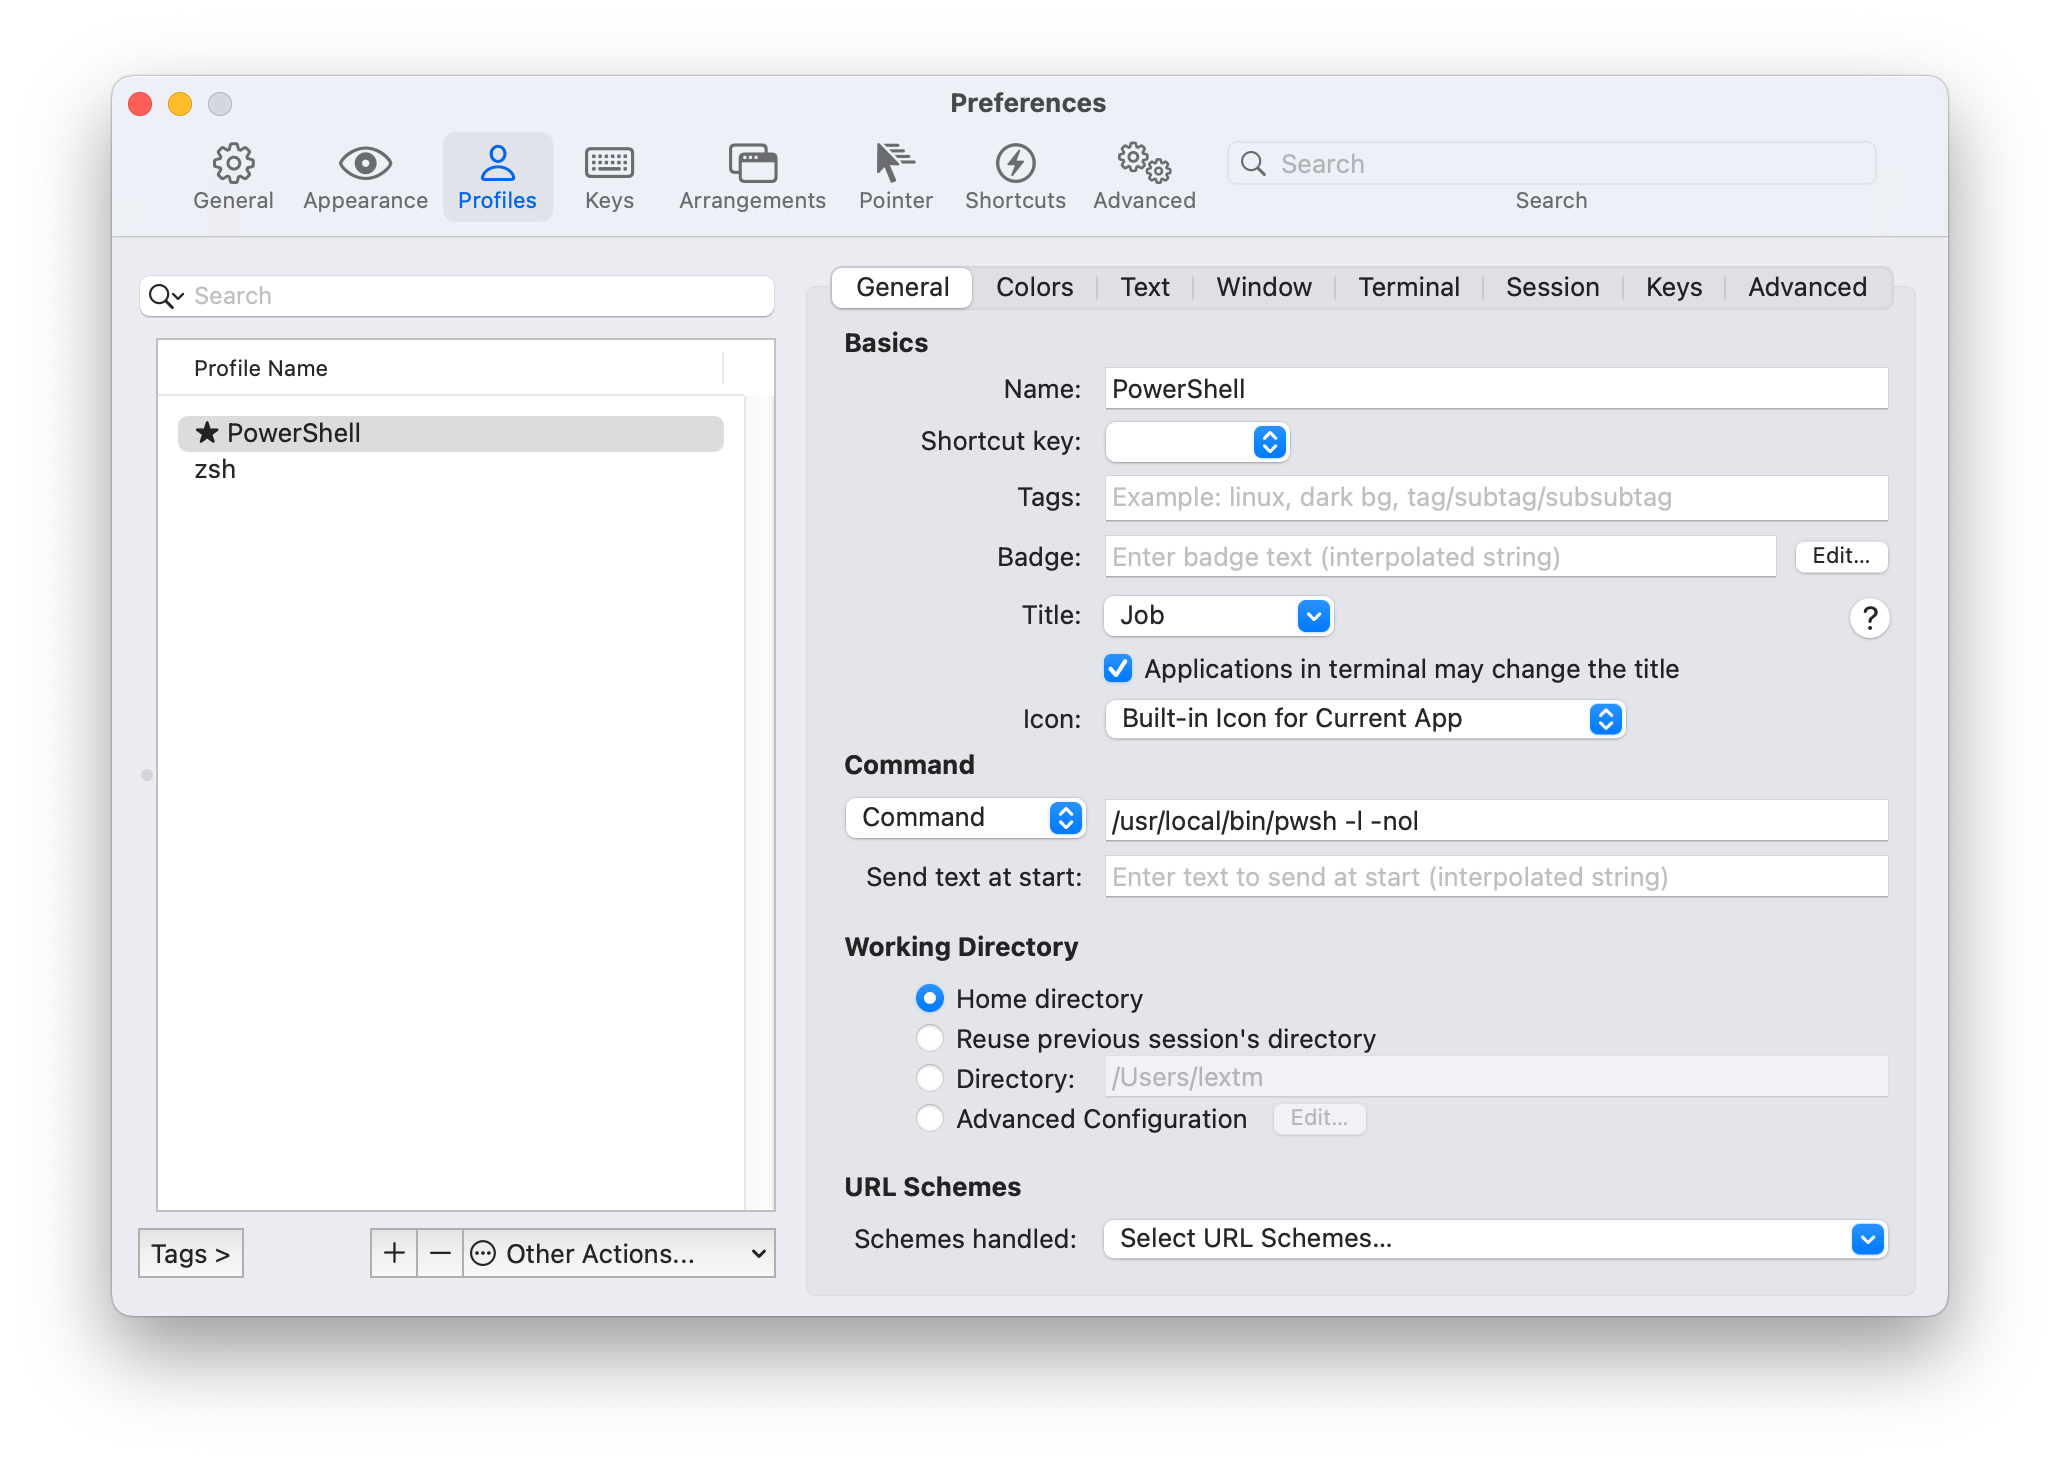 Figure 2: iTerm2 General section
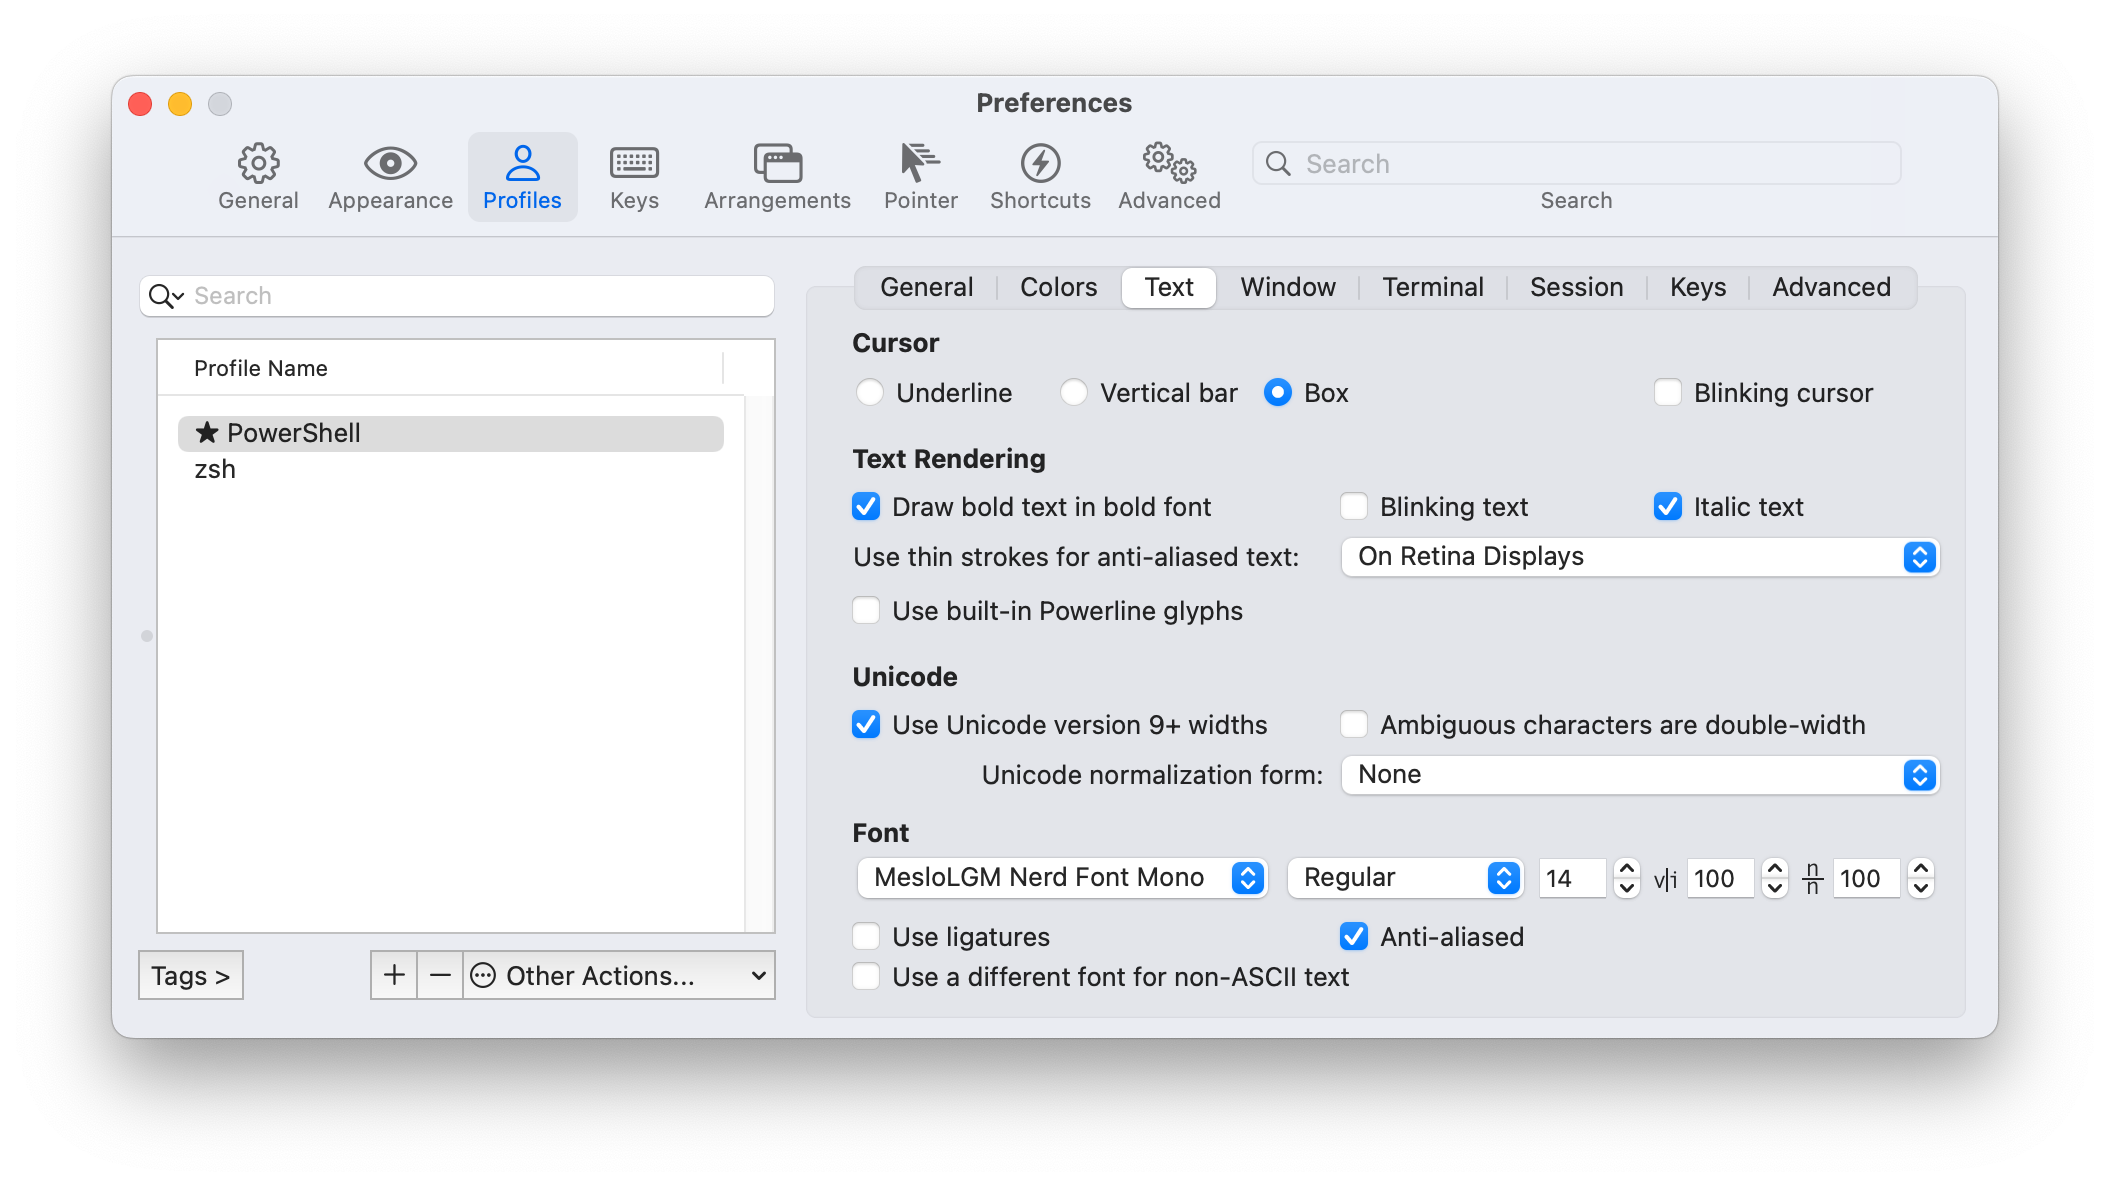
Under Text section, choose MesloLGM Nerd Font Mono.
Use “Set as Default” menu item from “Other Actions” dropdown to set PowerShell as default profile.
Install Oh My Posh
With Homebrew, the installation is still simple,
1
brew install jandedobbeleer/oh-my-posh/oh-my-posh
Learn the installation path of Oh My Posh via,
1
brew --prefix oh-my-posh
Once installation finishes, open ~/.config/powershell/profile.ps1 and add another line,
1
oh-my-posh init pwsh --config /opt/homebrew/opt/oh-my-posh/themes/cloud-native-azure.omp.json | Invoke-Expression
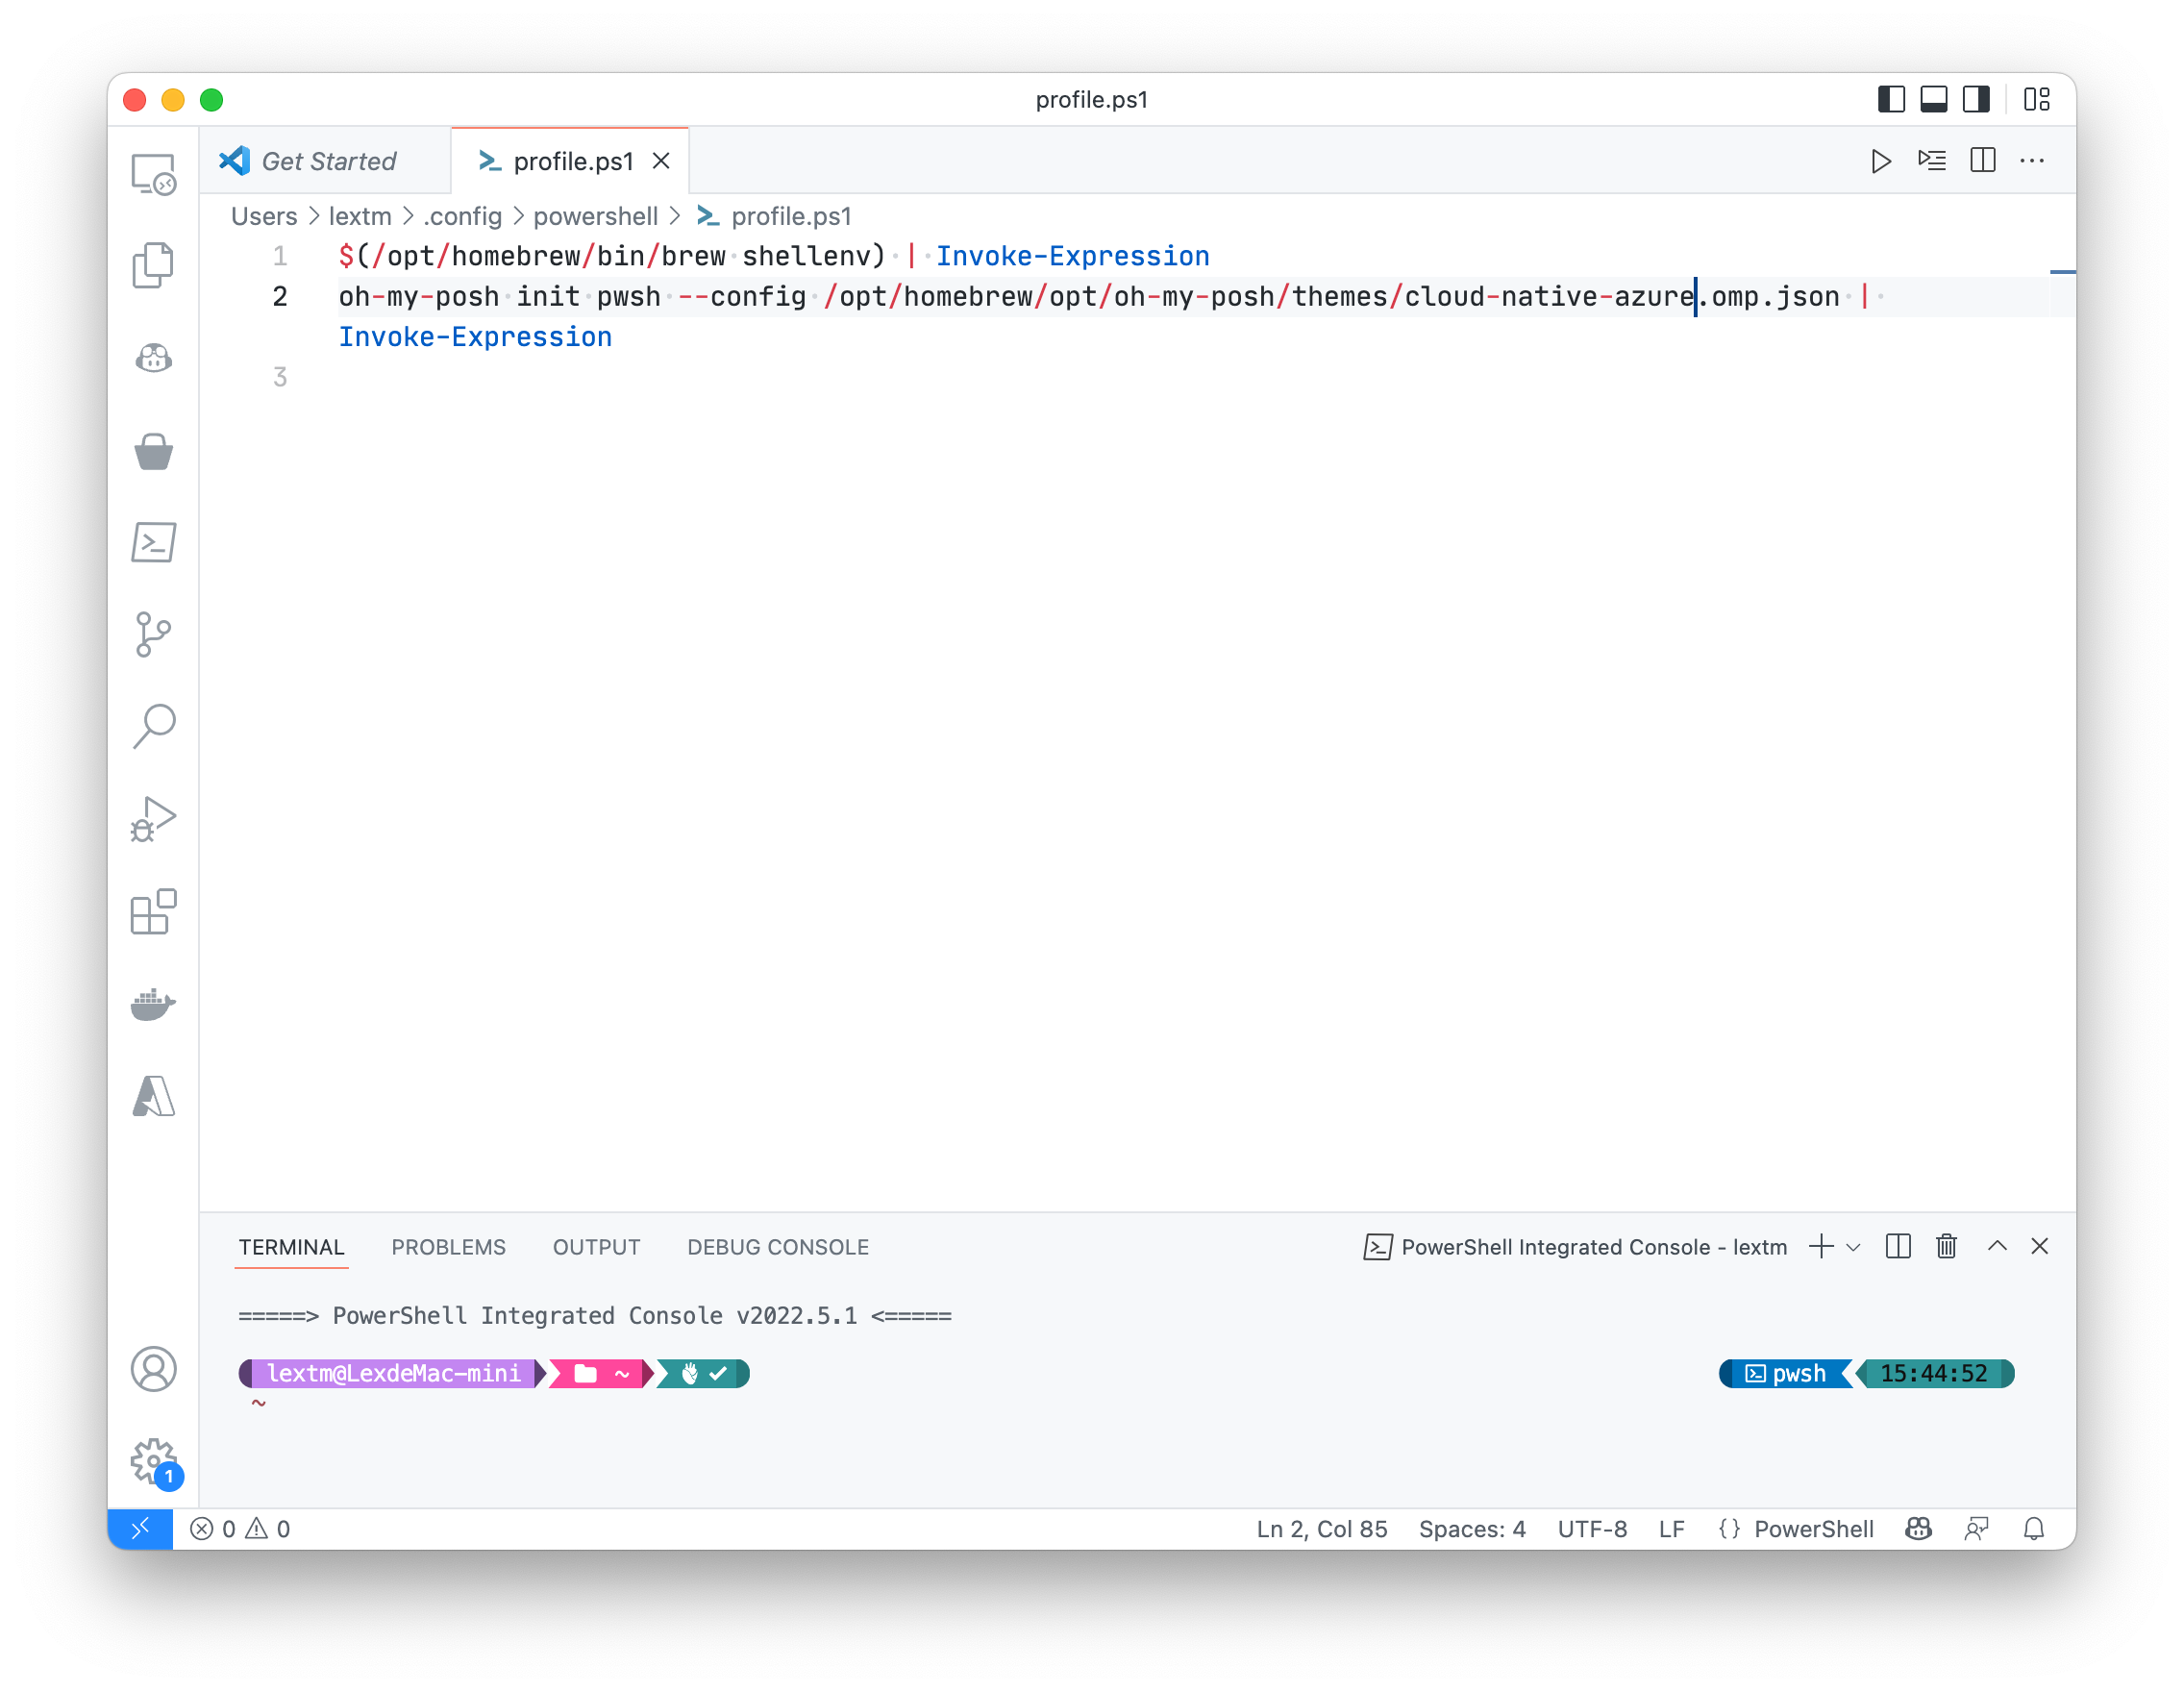 Figure 4: PowerShell default profile
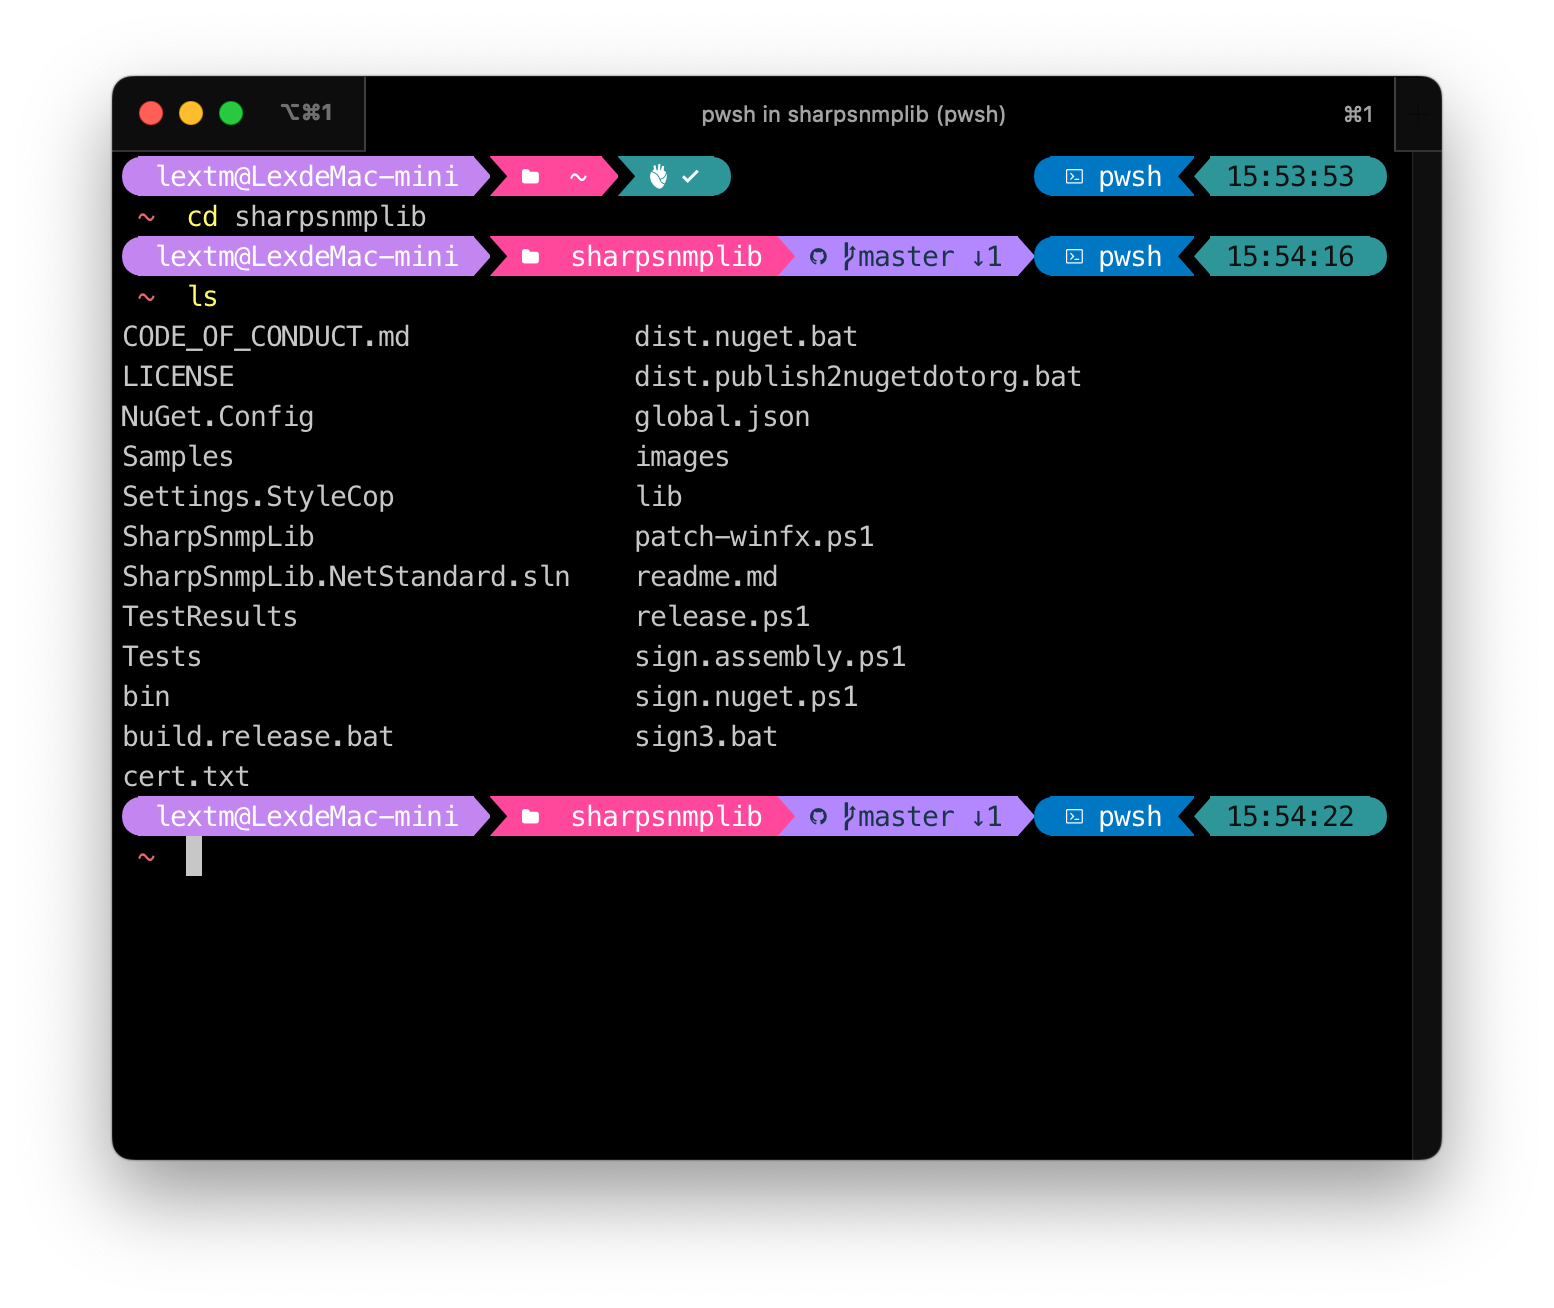
Now open a new tab in iTerm2 and you should see your PowerShell prompt with cloud-native-azure theme.
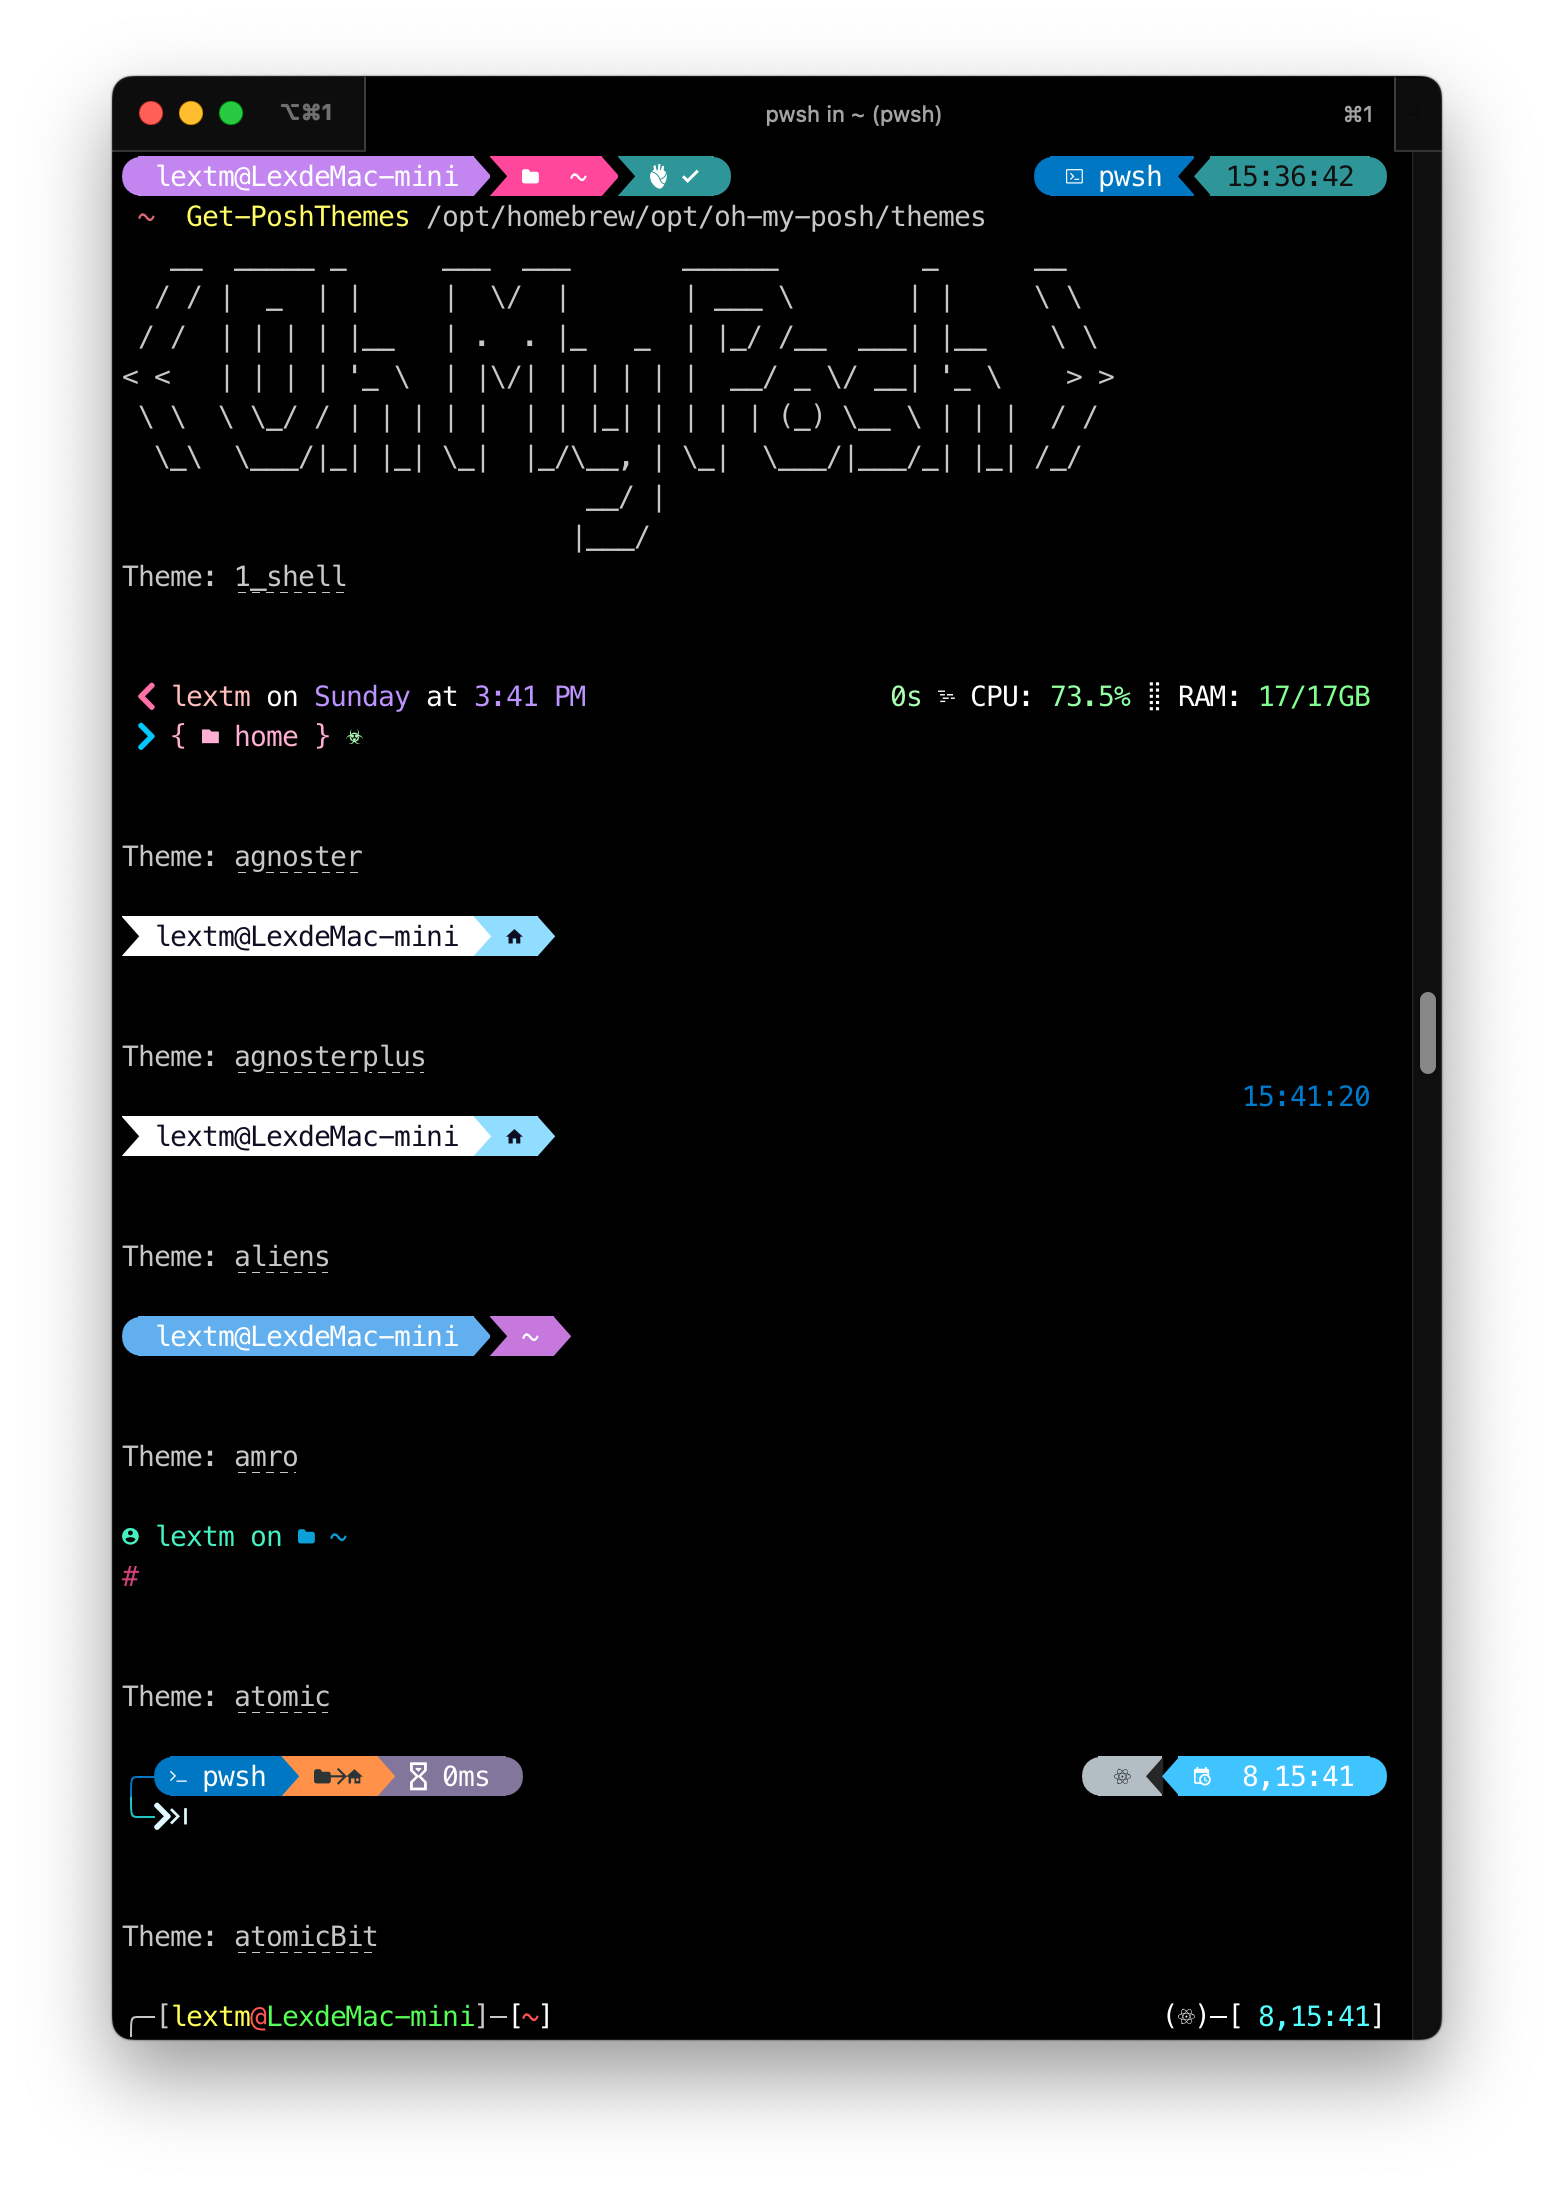
In case you want to preview different themes quickly, run
1
Get-PoshThemes /opt/homebrew/opt/oh-my-posh/themes
Visual Studio Code Terminal
If you plan to set PowerShell as default shell in VS Code terminal, make sure that you use the following settings,
1
2
3
4
{
    "terminal.external.osxExec": "iTerm.app",
    "terminal.integrated.fontFamily": "MesloLGM Nerd Font Mono"
}
Side Notes
Now you can keep iTerm2 in Dock and easily open a terminal with PowerShell for everyday usage, instead of the default Terminal.
To learn Oh My Posh on Windows, you can always trust Scott Hanselman.
