Receipt of Visual Studio Code Extension
A practical breakdown of Visual Studio Code extension structure using the reStructuredText extension as an example, covering manifest files, contribution points, and TypeScript implementation details.
 reStructuredText in Visual Studio Code
I think it is time to write about what exactly an extension of Visual Studio Code means by analyzing the one I own.
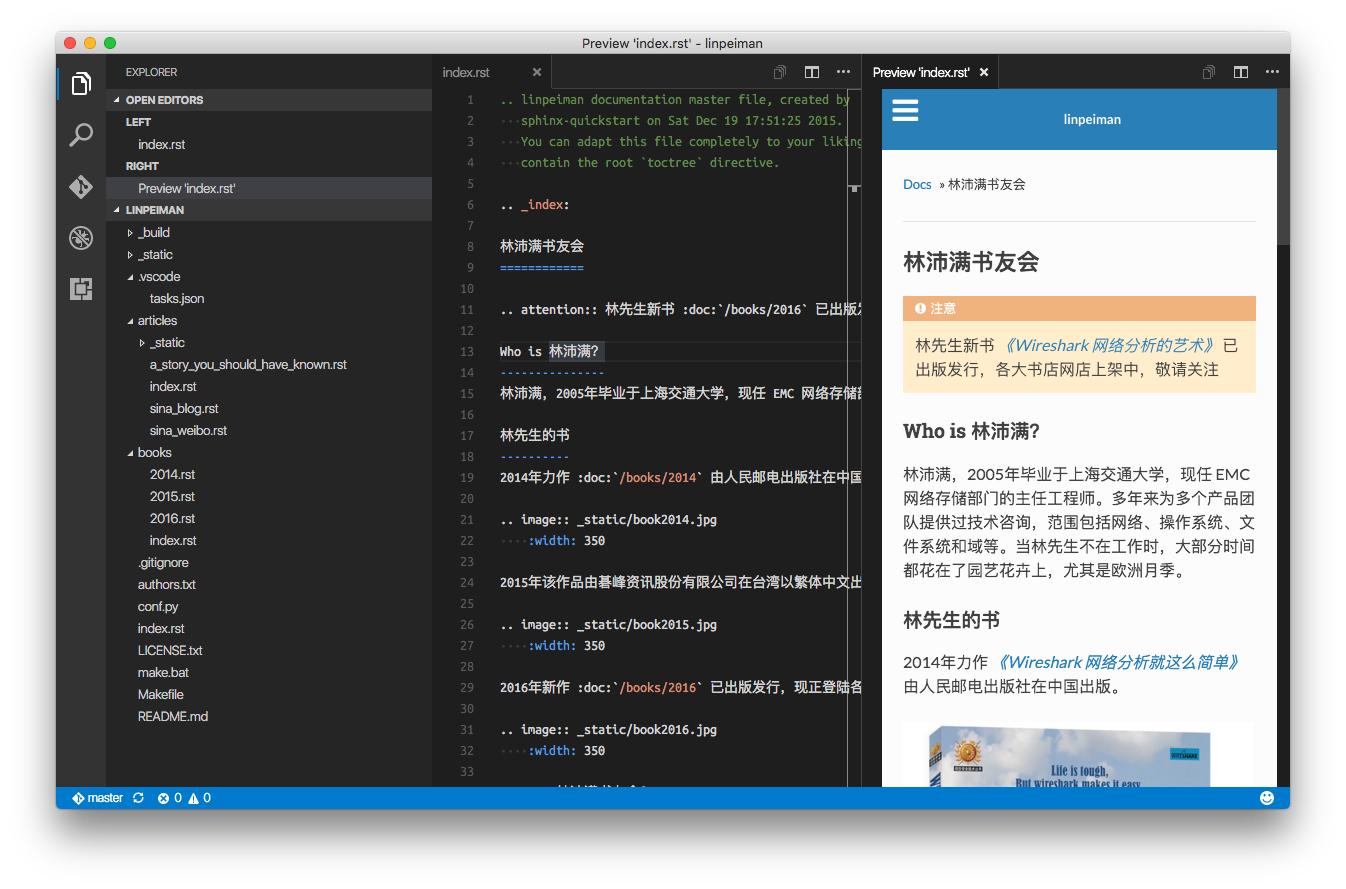
This example is the extension to add reStructuredText language support, and we will focus on its latest release, 28.0.0.
Manifest File
Everything begins with a manifest file, and here we use project.json.
Besides important attributes on the extension itself, such as “name” and “version”, this file also allows me to specify what are the NPM modules needed for development, such as “devDependencies”, “dependencies”, and “scripts”. I don’t fully understand how every bits work behind the scene, so the best resources are,
- Other well maintained extensions, such as the PowerShell extension.
- Visual Studio Code documentation site.
As this is a language extension to enable VSCode to work on reStructuredText source files, I must configure carefully what “languages” this extension to extend, under “contributes” section. There are also other things this extension contributes to. So below is a list,
- “languages”. This allows file extensions to be registered. So once a file is opened and its file extension matches the extension manifest, then the extension can be activated by VSCode to provide its features.
- “grammars”. This controls the syntax highlighting support. For this simple extension, a TextMate syntax file
- “restructuredtext.tmLanguage” is registered.
- “snippets”. This is where code snippets are registered, and a JSON file is used.
Because this extension also adds actions to VSCode, two more sections are used,
- “keybindings”. This is where keyboard shortcuts are defined.
- “menus”. This allows new icons to be added to top right corner of a text file editor via “editor/title”, and new context menu items to be added to file explorer via “explorer/context”.
Note that behind the scenes, you need to have commands defined aside, so that keybindings and menus can map to,
- “commands”. This is where commands are defined, which are later associated to relevant functions in your TypeScript/JavaScript code. Interestingly you can attach icons to commands here.
- “activationEvents”. All commands must also be registered here for activation events (I don’t know why either).
Lastly, an extension can have its own configuration options defined under “configuration”. It is conventional to use your extension prefix (here “restructuredtext”) in property name, so that the properties won’t conflict with another extension.
It is critical to set up GitHub integration for your extension,
- “homepage”. Usually it should point to the README file in the GitHub repo.
- “bugs”. Usually it should point to the issue list of the GitHub repo.
The Code
This extension uses TypeScript, so its extension.ts file contains all the logic.
1
export function activate(context: ExtensionContext)
The above function is where all magic begins, and the lines are quite typical if you compare to other extensions.
This extension provides reStructuredText preview, so it implements TextDocumentContentProvider to present the preview content in a window. All secrets hide in the following method,
1
public provideTextDocumentContent(uri: Uri): string | Thenable<string>
OK. If you plan to develop your own extension and it happens to be a language extension, hope this post helps you get started on the core elements.